Preparing For Wallpaper
As the Roman philosopher Seneca wisely noted, “Luck is what happens when preparation meets opportunity.” Your opportunity to purchase that ideal wallpaper might be just around the corner, but the question remains: will your walls be ready when the time comes? Whether you decide to hire a professional or handle the installation yourself, preparing your walls is essential for a smooth application. In fact, preparation often begins well in advance of installation day. Some tasks, especially if you want the best result, might need to be tackled up to 30 days beforehand. So, read on to find out how to make sure your wall is prepped for wallpaper and avoid any unnecessary hiccups along the way.
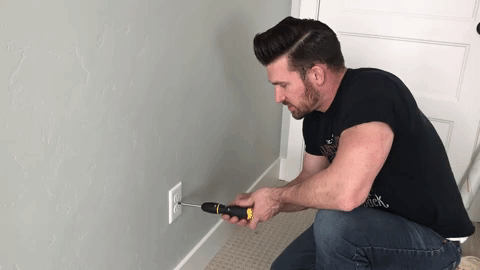
The first step is to make sure your wall is as smooth as possible. Start by removing any nails, hooks, or light switch covers, as these will leave behind small holes or bumps. Any imperfections on the surface could show through the wallpaper, negatively impacting its appearance. To avoid this, fill in holes with filler and sand down any raised areas to ensure the wall is even. While a light texture may not be an issue, more prominent textures should be addressed. A smooth wall helps the wallpaper adhere properly, reducing the chances of peeling or moisture getting trapped behind the paper, which could cause mould to develop.
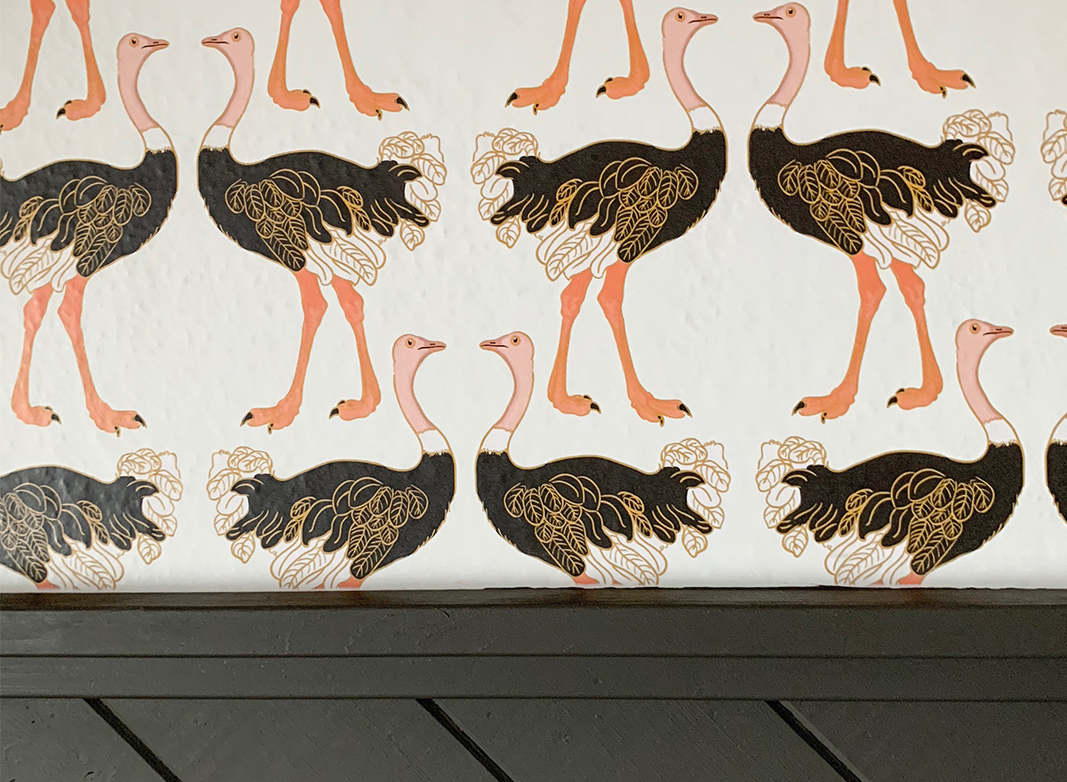
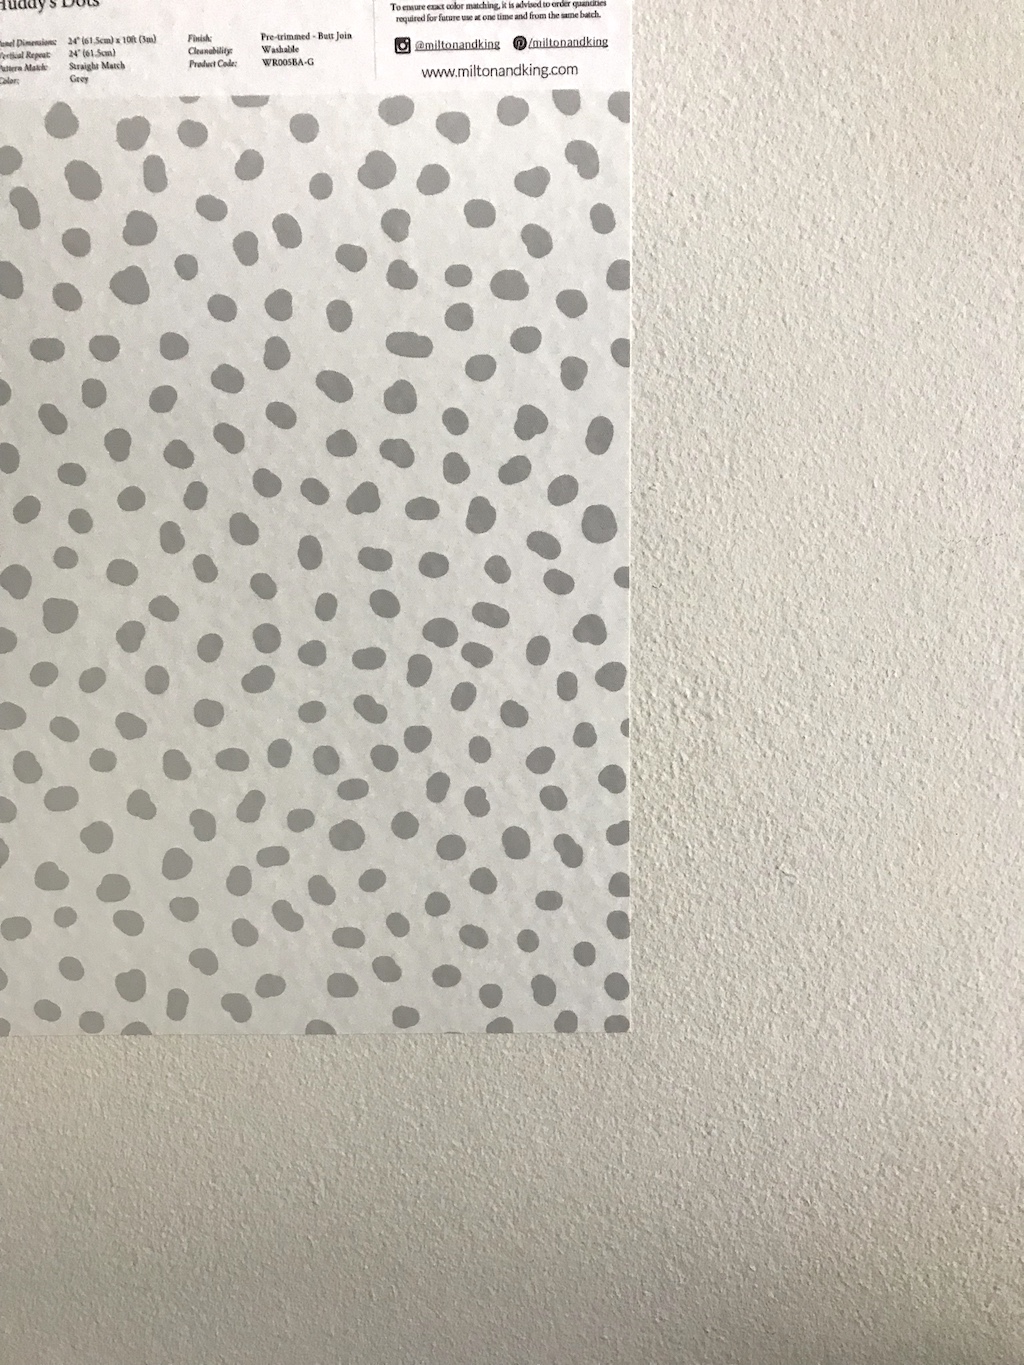
Lighter wallpaper designs, particularly those with white or pale backgrounds, may highlight the underlying wall’s texture. Darker designs tend to conceal imperfections more effectively. For instance, Traci Sheppard from Phoenix and the Ocean tried the Huddy’s Dots design over a painted concrete wall. Despite the texture showing through in some areas, it didn’t stop her from completing her wallpaper project.
For the best results, consider a technique called “mudding,” where a thin layer of joint compound is applied to the wall. Once dried, it can be sanded smooth before applying a primer. To learn more about dealing with textured walls, visit our blog, “Are Textured Walls A Concern For Wallpaper?”
Clean the Wall
Once the wall is smooth, the next step is cleaning. You should clean the wall not only at the start of your preparation but also just before installation. After sanding, there will likely be a fine layer of dust, which you don’t want to paint or wallpaper over. For a deep clean, use sugar soap or trisodium phosphate (TSP) to remove grease, grime, or other build-ups. If the wall is already painted, a solution of warm water mixed with vinegar should do the trick.
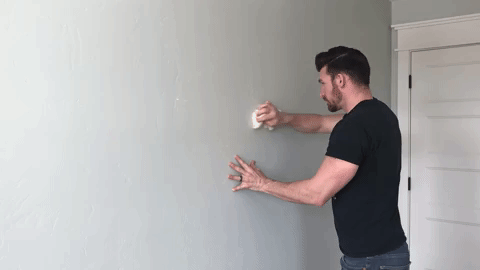
Then, about 24 to 48 hours before installing the wallpaper, wipe down the wall again using a soft, damp cloth to remove any remaining dust or debris. Thanks to Bud from White Sparrow Farm, we have a great demonstration of how to carry out this step effectively.
Paint and Primer
The type of paint on your walls can play a significant role in how well your wallpaper sticks. Generally, eggshell, satin, or semi-gloss finishes work best for wallpaper. Avoid applying wallpaper directly onto latex paint, as it tends to tear during removal. Also, avoid applying wallpaper directly to untreated drywall, as it will absorb the paste, leaving less adhesive for the wallpaper itself. Priming the wall first will help ensure the paste stays on the surface and create a moisture barrier, preventing mould.
Primers are typically white, which works well for lighter-coloured wallpapers. However, Milton & King wallpaper uses a butt-join method, where the edges of each wallpaper strip meet without overlapping. While this method is precise, any slight imperfection during installation could leave visible seams. To minimise this, it’s a good idea to have the primer tinted to something close to the wallpaper’s background colour, especially for darker wallpapers.
If you’re applying wallpaper to a freshly painted wall, be sure to allow the paint to cure for at least 30 days before beginning. However, primer dries much faster, usually within a day or two.
Addressing Moisture Concerns
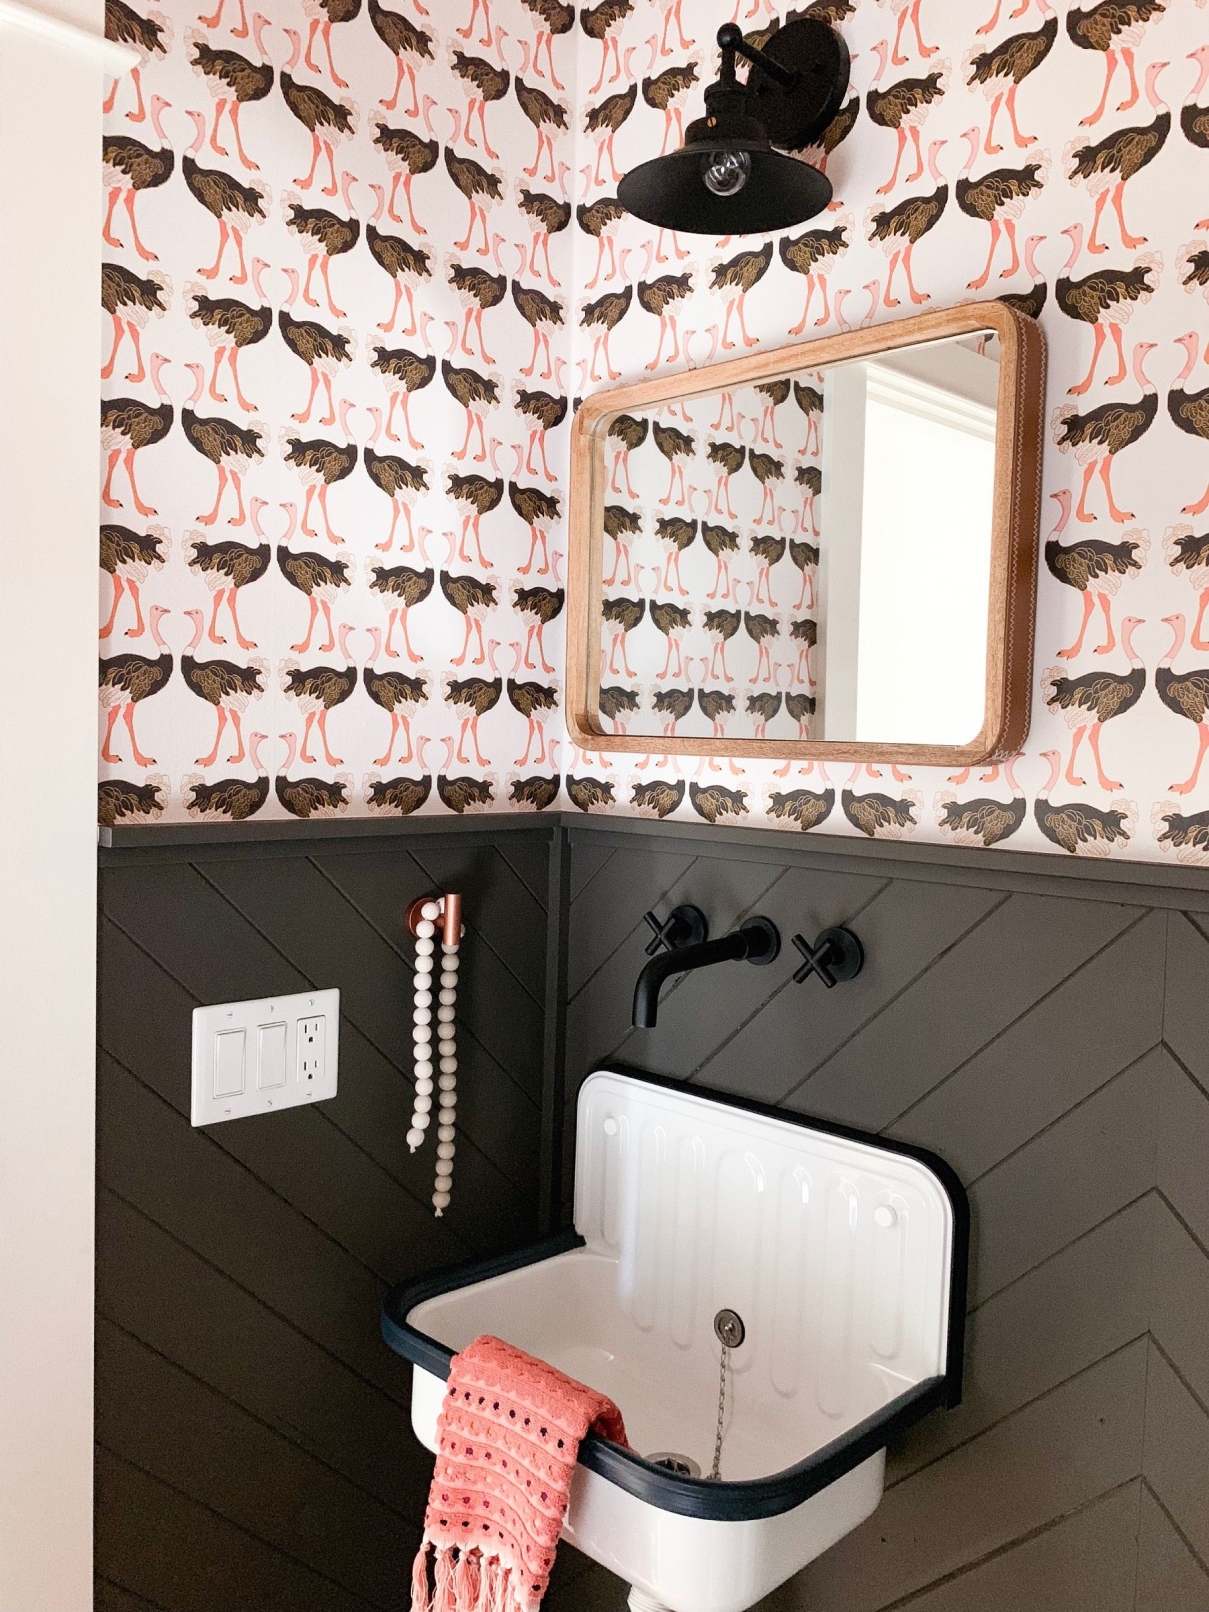
A common question is whether wallpaper can be installed in a bathroom. The answer depends on the bathroom’s humidity levels and the presence of direct water contact. If you’re referring to a toilet room, wallpaper is generally fine. However, if the space contains a shower, humidity and moisture are key factors.
Non-woven wallpaper is breathable and can withstand typical bathroom humidity. However, it’s not designed to be in direct contact with water. If it does get wet, it’s essential to dry the wallpaper immediately to prevent the paste from weakening with repeated exposure to water. For bathrooms with extreme moisture, like those where the walls frequently get splashed, you may need to waterproof the wallpaper. Keep in mind, though, that once waterproofed, wallpaper loses some of its breathability and can be harder to remove.
In such environments, it’s a good idea to use a mould-resistant paste. But for most bathrooms, as long as there is adequate ventilation and the door is left open, wallpaper can work just fine.
Summary: How to Prepare Your Walls for Wallpapering
- Smooth the wall: Fill any holes, level out textures, and sand down raised areas.
- Clean the wall: Use sugar soap or a mixture of water and vinegar to get rid of dirt, dust, and grime.
- Apply primer: Ensure the wall is sealed to help the paste adhere and prevent moisture build-up.
- Final clean: Wipe down the wall with a damp cloth 24 hours before installation.
- Install your wallpaper: Transform your space with a beautiful new look.
Proper wall preparation is key to getting the most out of your wallpaper investment. The more effort you put into preparation, the smoother the installation will be, and the fewer issues you’ll face later. So, when the time comes to hang your dream wallpaper, make sure your walls are prepped—and you’ll likely find that good fortune will follow!