

Close The Gap – Avoid Wallpaper Seams
After spending time hanging your wallpaper, you step back, proud of your work. However, a few hours later, you notice those frustrating seams peeking through. What could have gone wrong? Don’t worry; this is a common issue that can often be avoided. Let’s explore the reasons behind these seams and discover practical tips to keep them at bay during your wallpapering project.
Why Do Wallpaper Seams Appear?
When working with non-woven, paste-the-wall wallpaper, the process may appear simple at first. One of the standout features of non-woven wallpaper is its ability to resist changes in size due to moisture. Unlike traditional wallpaper, which swells when wet and shrinks as it dries, non-woven wallpaper combines synthetic and natural fibres to support stability. Milton & King offer wallpapers designed to butt-join, which allows for a tight fit between edges, resulting in a smooth finish.
But if the wallpaper isn’t the issue, could it be the paste? While the paste is certainly important, it’s not the only factor. There are several types of paste available, some thinner and others designed for quicker drying. Established brands like Solvite and Metylan offer reliable choices, but the effectiveness of any paste also hinges on how well the wall is prepared and the type of paint applied. Seams can often emerge from a combination of these factors, so it’s worth examining them closely.
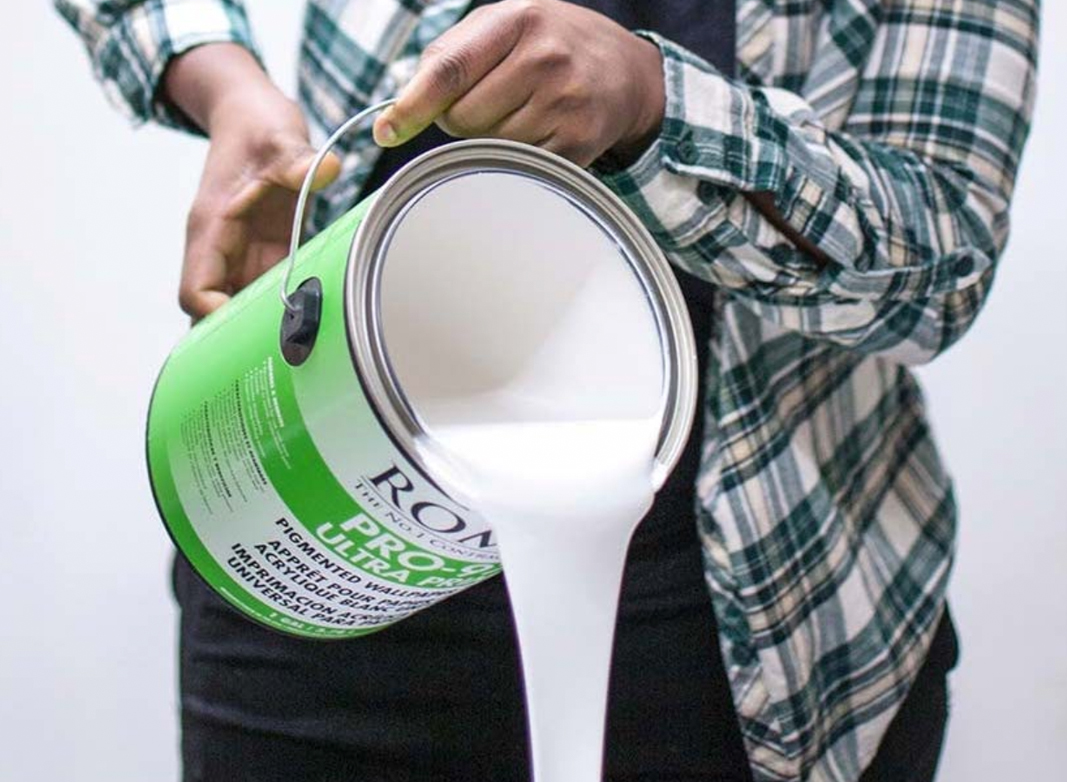
Wallpaper Primer & Preparation
Wallpaper paste has a quality called “tack,” which refers to its adhesive strength. A paste with strong tack will hold the wallpaper securely in place. Additionally, it should offer good “glide,” making it easier to adjust during application. Both of these traits are key for ensuring a smooth installation.
Thorough wall preparation is vital for reducing seams. Using a primer can significantly improve the paste’s effectiveness by sealing the wall and preventing absorption, which helps keep the paste on the surface. If the wall isn’t sealed, it can soak up moisture from the paste, compromising its effectiveness. Additionally, a primer creates a more suitable surface for the wallpaper to adhere to. If you’re working with high-gloss paint, it may be slicker compared to paint with a matte finish. Choosing the right primer is crucial for a successful installation.
Smooth and Pressure
Smoothing your wallpaper is not just about removing air bubbles; it also helps create a strong bond. Insufficient pressure during installation can lead to poor adhesion as the wallpaper dries. Consider it like applying tape to a box. It’s almost a natural inclination to rub your hand across the tape to apply pressure to the tape so that it has a strong grip. The same is true for wallpaper. A seam roller is an excellent tool for applying pressure along the edges of the paper, improving adhesion.
Key Tips to Prevent Visible Seams:
- Prepare the wall with a suitable primer.
- Choose a high-quality paste with strong tack.
- Apply firm pressure while smoothing the wallpaper to remove air bubbles and increase tack.
Effects of Temperature on Wallpaper
Temperature fluctuations can greatly affect the drying process of wallpaper. If installed close to heating or cooling units or exposed to direct sunlight, certain areas may dry faster than others, causing the paper to shift and potentially resulting in noticeable seams. To prevent this, allow the wallpaper to dry naturally, steering clear of direct heat or cold for at least 48 hours after installation. Additionally, ensuring proper smoothing and applying adequate pressure will help minimise these problems.

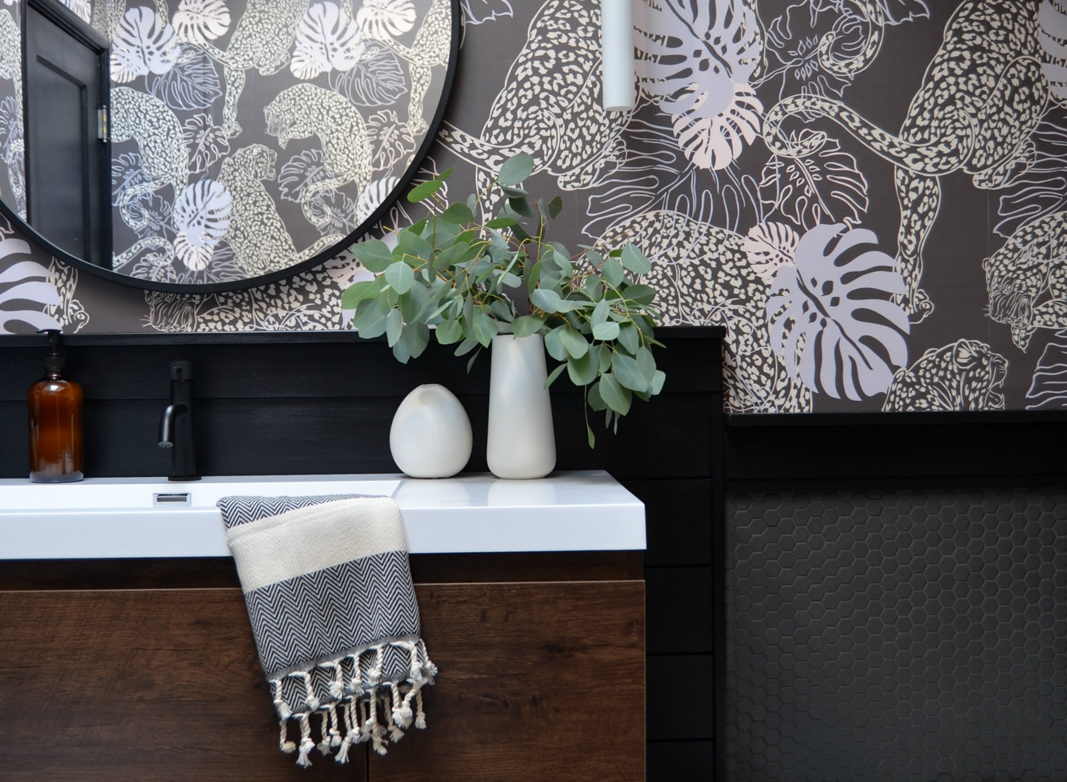
Soft White Bricks wallpaper installed under a cooling unit
Clever Ways to Hide Seams Before Installation
We’ve covered wall preparation, paste application, and smoothing techniques. But if you’re new to wallpapering, there’s still a chance things might not turn out perfectly. So, what else can you do to minimise visible seams in your wallpaper? Dark wallpaper on light walls can make seams stand out more, so coordinating the wall colour with your wallpaper can effectively hide imperfections. While many primers are white, some can be tinted to better match the wallpaper’s background colour.
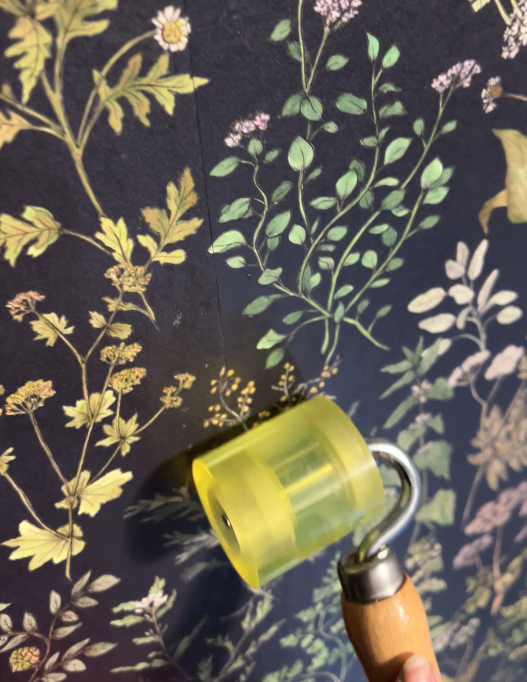
Another helpful technique is banding, which involves painting stripes on the wall that align with the seams of the wallpaper. Be sure to measure carefully so that the stripes correspond with the edges of the panels, allowing them to blend seamlessly.
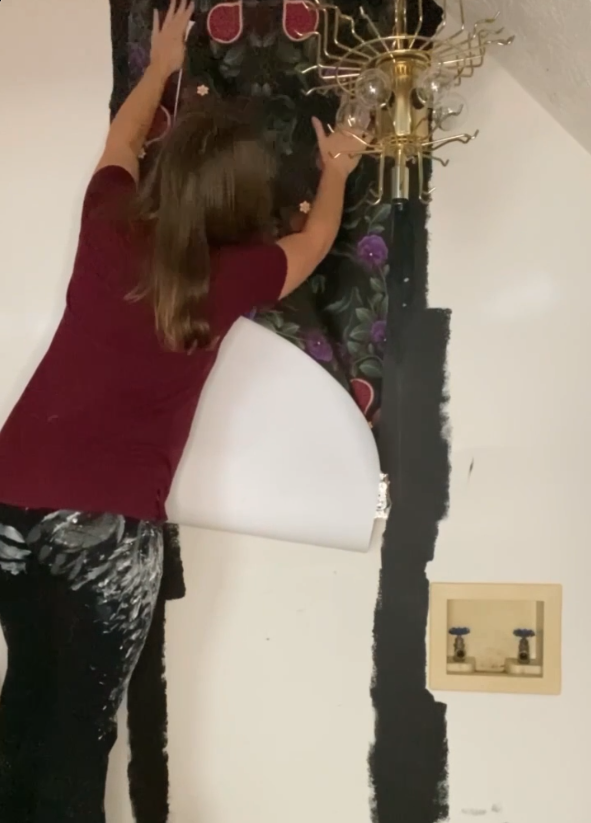
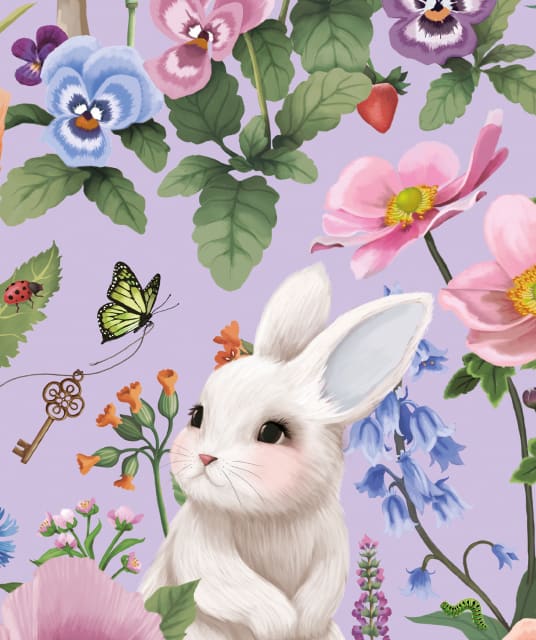
Lauren Dalstrup using a banding as she applies her Figs & Strawberries wallpaper to avoid the appearance of seams.
For dark wallpapers, it’s worth noting that they are often printed on a white base, which can show at the edges if not positioned correctly. A simple trick is to colour the edge of the wallpaper roll with a crayon before installation; this can help disguise any visible white lines at the seams.
Addressing Seams After Installation
What steps can you take if you think you’ve followed all the right procedures, or if you’ve discovered this guide too late? If your wallpaper is already up and seams are still visible, there are still options to consider. We found an expert and asked them, so you don’t have to! Celebrity wallpaper installer Katie Hunt, recognised from various HGTV shows, offered this insightful tip:
“I recommend water color pens. They can be applied to the seams, then wiped right away, with a damp/wet microfibre cloth. The color will stick to the wall/liner, and then wipe away from the face of the wallpaper, making the seam no longer visible. As always, it is recommended to test in an inconspicuous spot first, before attempting a ‘main’ area. Quite an easy process, and works amazingly well.”
Saul from King Reyes Wallpaper Installers in Dallas, Texas, uses a clever technique to improve the look of wallpaper seams. He takes a watercolour marker that closely matches the background colour of the wallpaper and gently applies it along the seam. Afterward, he quickly wipes it off the wallpaper surface, leaving the colour only in the exposed wall areas peeking through the seam. This simple yet effective method helps to reduce the visibility of seams, especially when time constraints lead to a less-than-perfect installation.
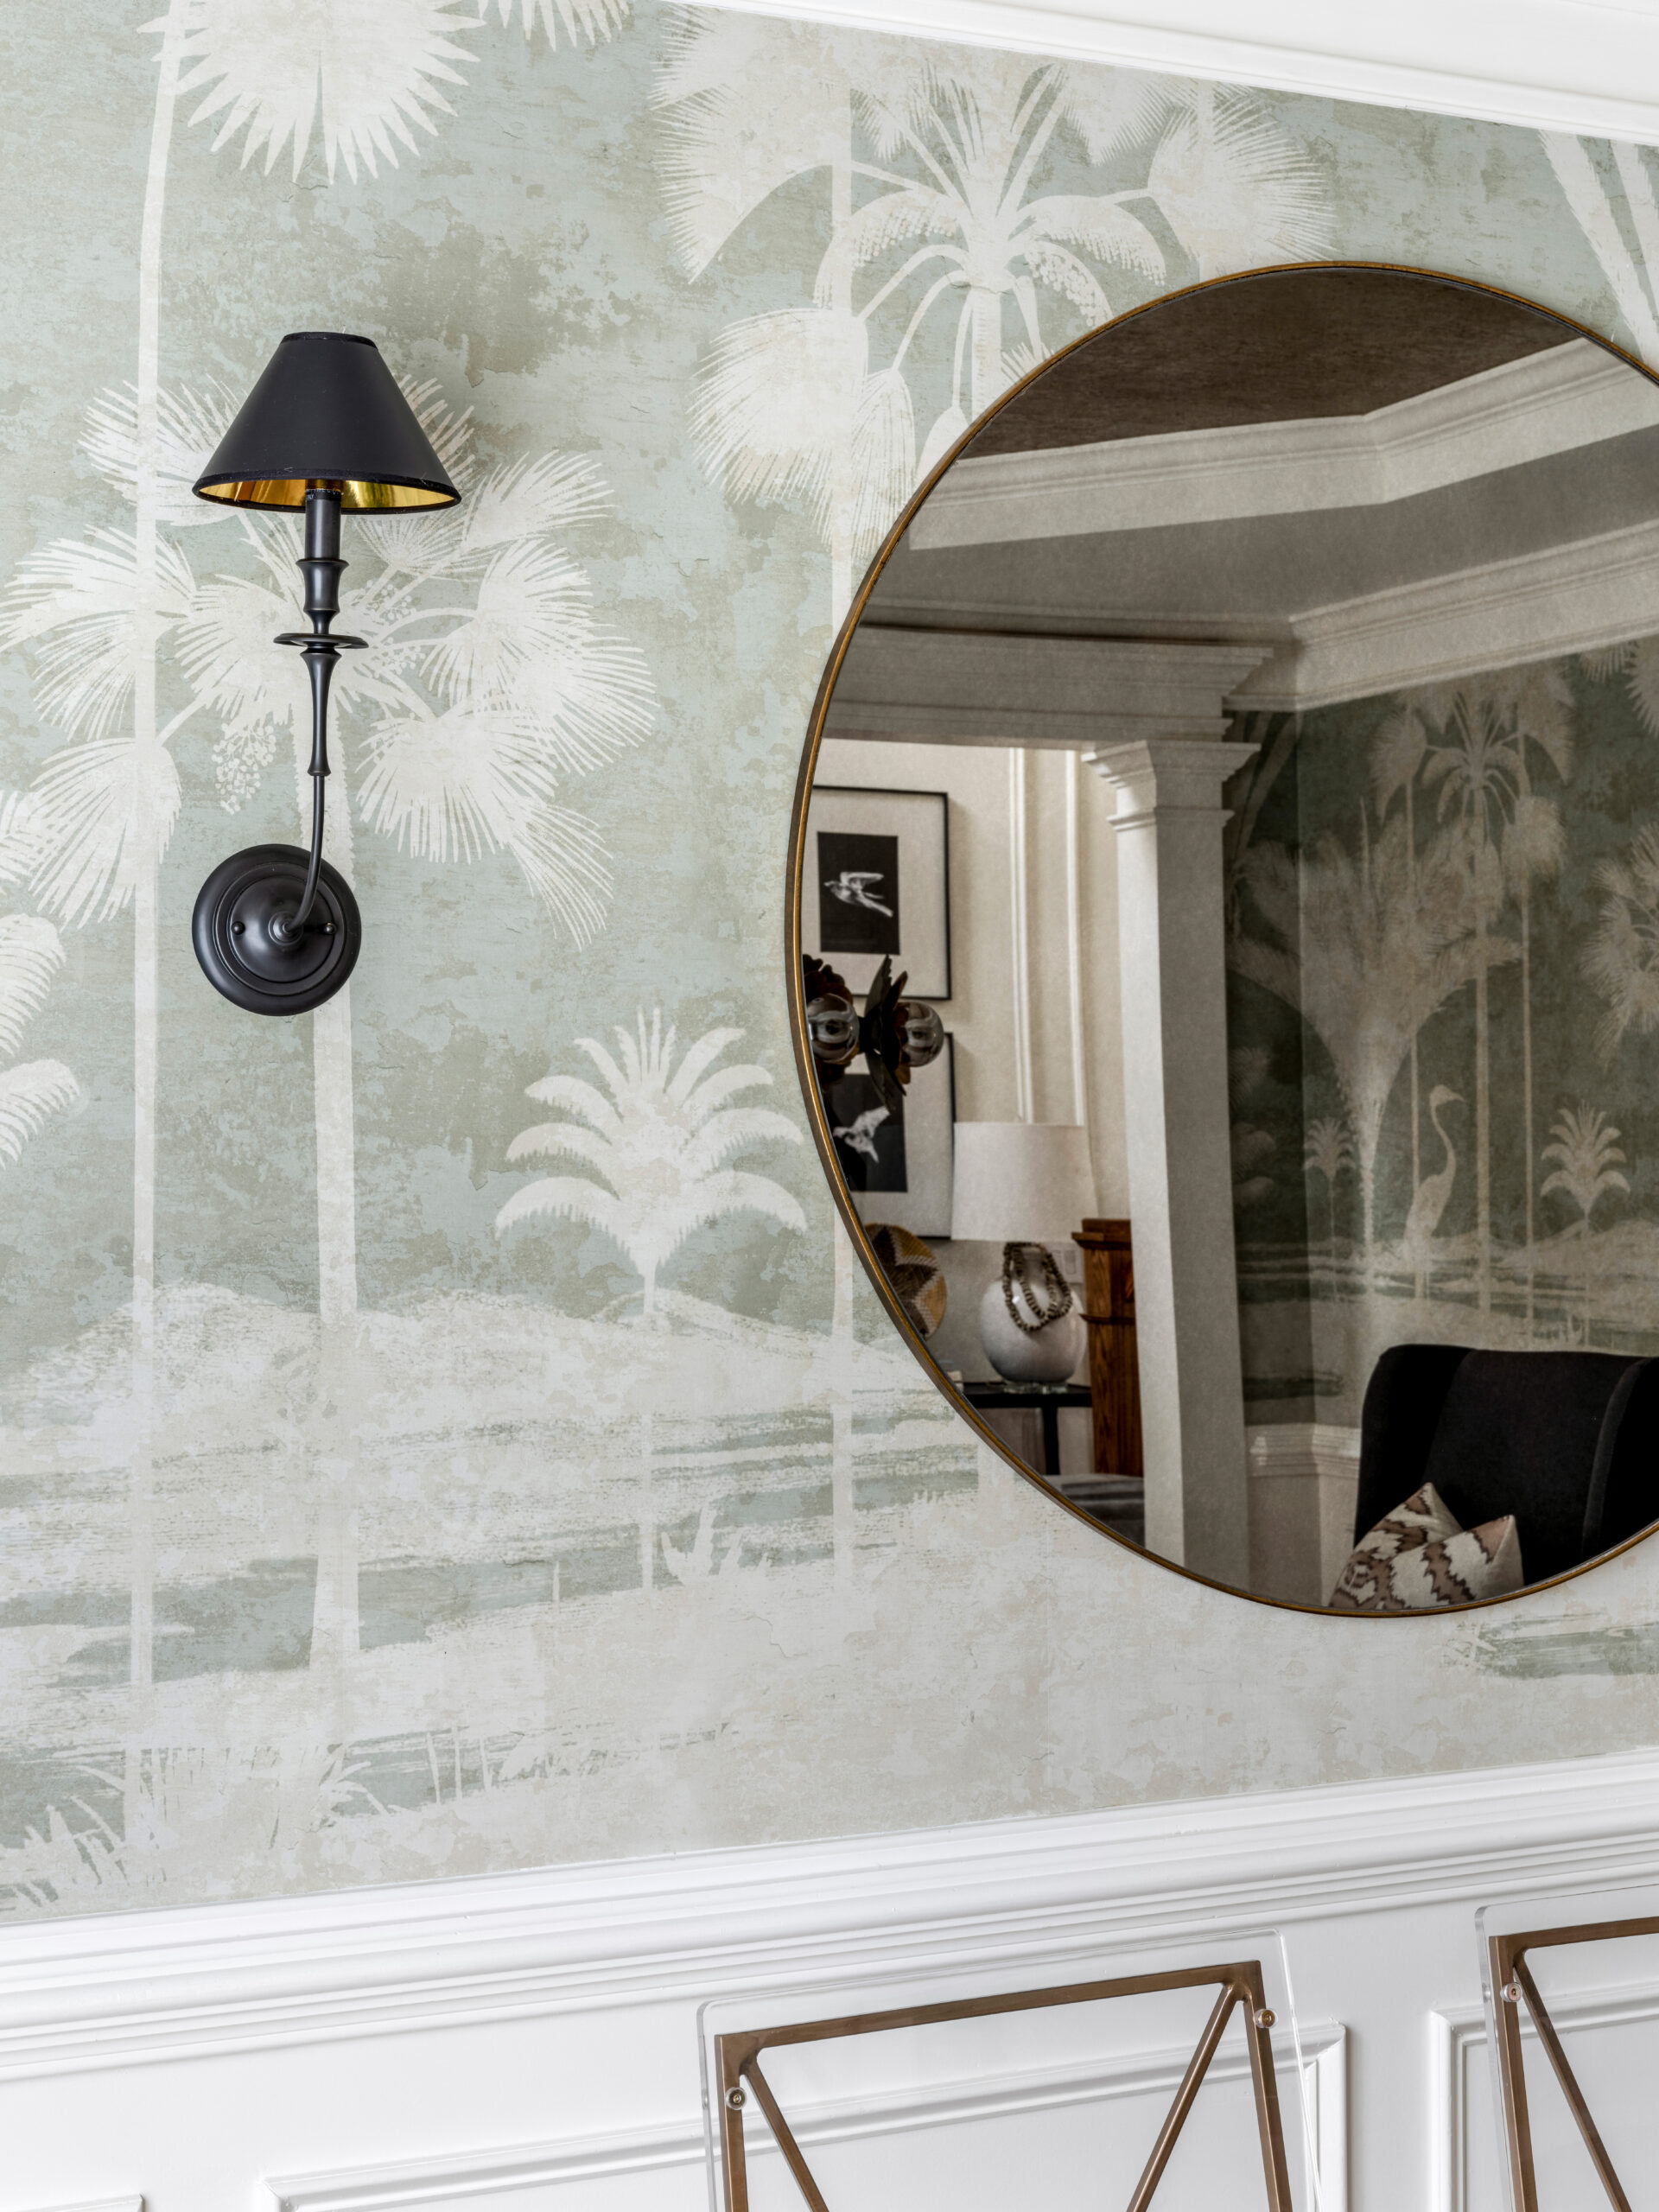
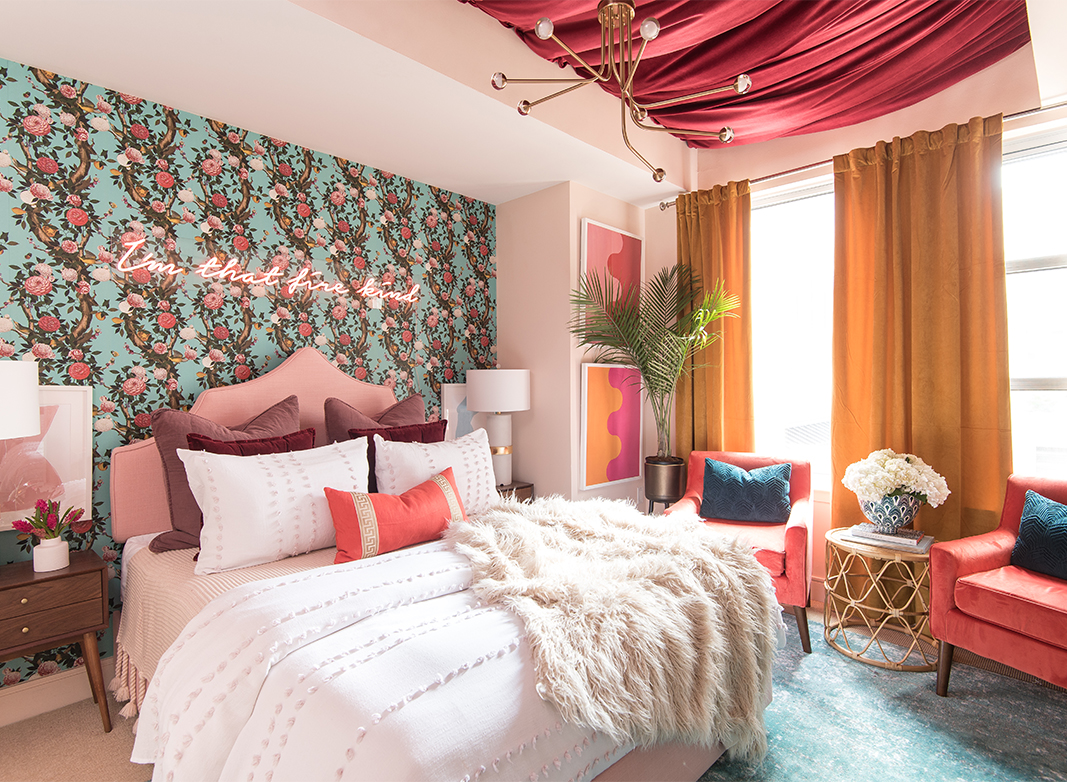
Shadow Palm Mural photo courtesy of Erika Ward
In the end, you want your wallpaper to look stunning and seamless. Seams can detract from the overall appearance, but with the right preparation and techniques, you can achieve a flawless finish. Here’s a quick summary to help you keep those seams at bay:
Steps to Minimise Wallpaper Seams:
- Select a primer to try and match your wallpaper’s background colour or consider the banding technique.
- Be generous with your paste application for even coverage.
- Colour the edges of dark wallpapers with a crayon before hanging.
- Apply consistent pressure while smoothing down your wallpaper and make sure you wipe away any excess paste after doing so.
- Allow the wallpaper to dry naturally for 48 hours in a well-ventilated area.